In the world of structural landscaping, a bridge spanning a pond adds a touch of elegance and mystique to your outdoor space. At We Build It, we have perfected the art of structural landscaping, exploring the steps, materials, and creative considerations involved in turning your dream of a picturesque pond bridge into a reality.
Step 1: Planning and Design
Any successful project begins with a well-thought-out plan. Consider the style, size, and placement of your pond bridge. Are you aiming for a rustic wooden design or a sleek, modern structure? Assess the dimensions of your pond and its surroundings, accounting for factors such as water depth, terrain, and surrounding vegetation. A curved bridge might lend a whimsical touch, while a straight design could exude simplicity and elegance.
Step 2: Choosing the Right Materials
The choice of materials plays a pivotal role in both the aesthetics and longevity of your pond bridge. While wood is a classic option, treated lumber or cedar are recommended for their durability and resistance to water damage. Alternatively, composite materials offer a low-maintenance and eco-friendly choice, ensuring your bridge withstands the test of time. Stainless steel hardware provides a sturdy and rust-resistant option for the bridge’s support structure.
Step 3: Permits and Regulations
Before embarking on your bridge-building journey, it’s crucial to ensure you comply with local regulations and obtain any necessary permits. Regulations might stipulate the maximum span of the bridge, required safety features, and environmental considerations. Consulting with local authorities or a professional landscaper can help you navigate these legalities.
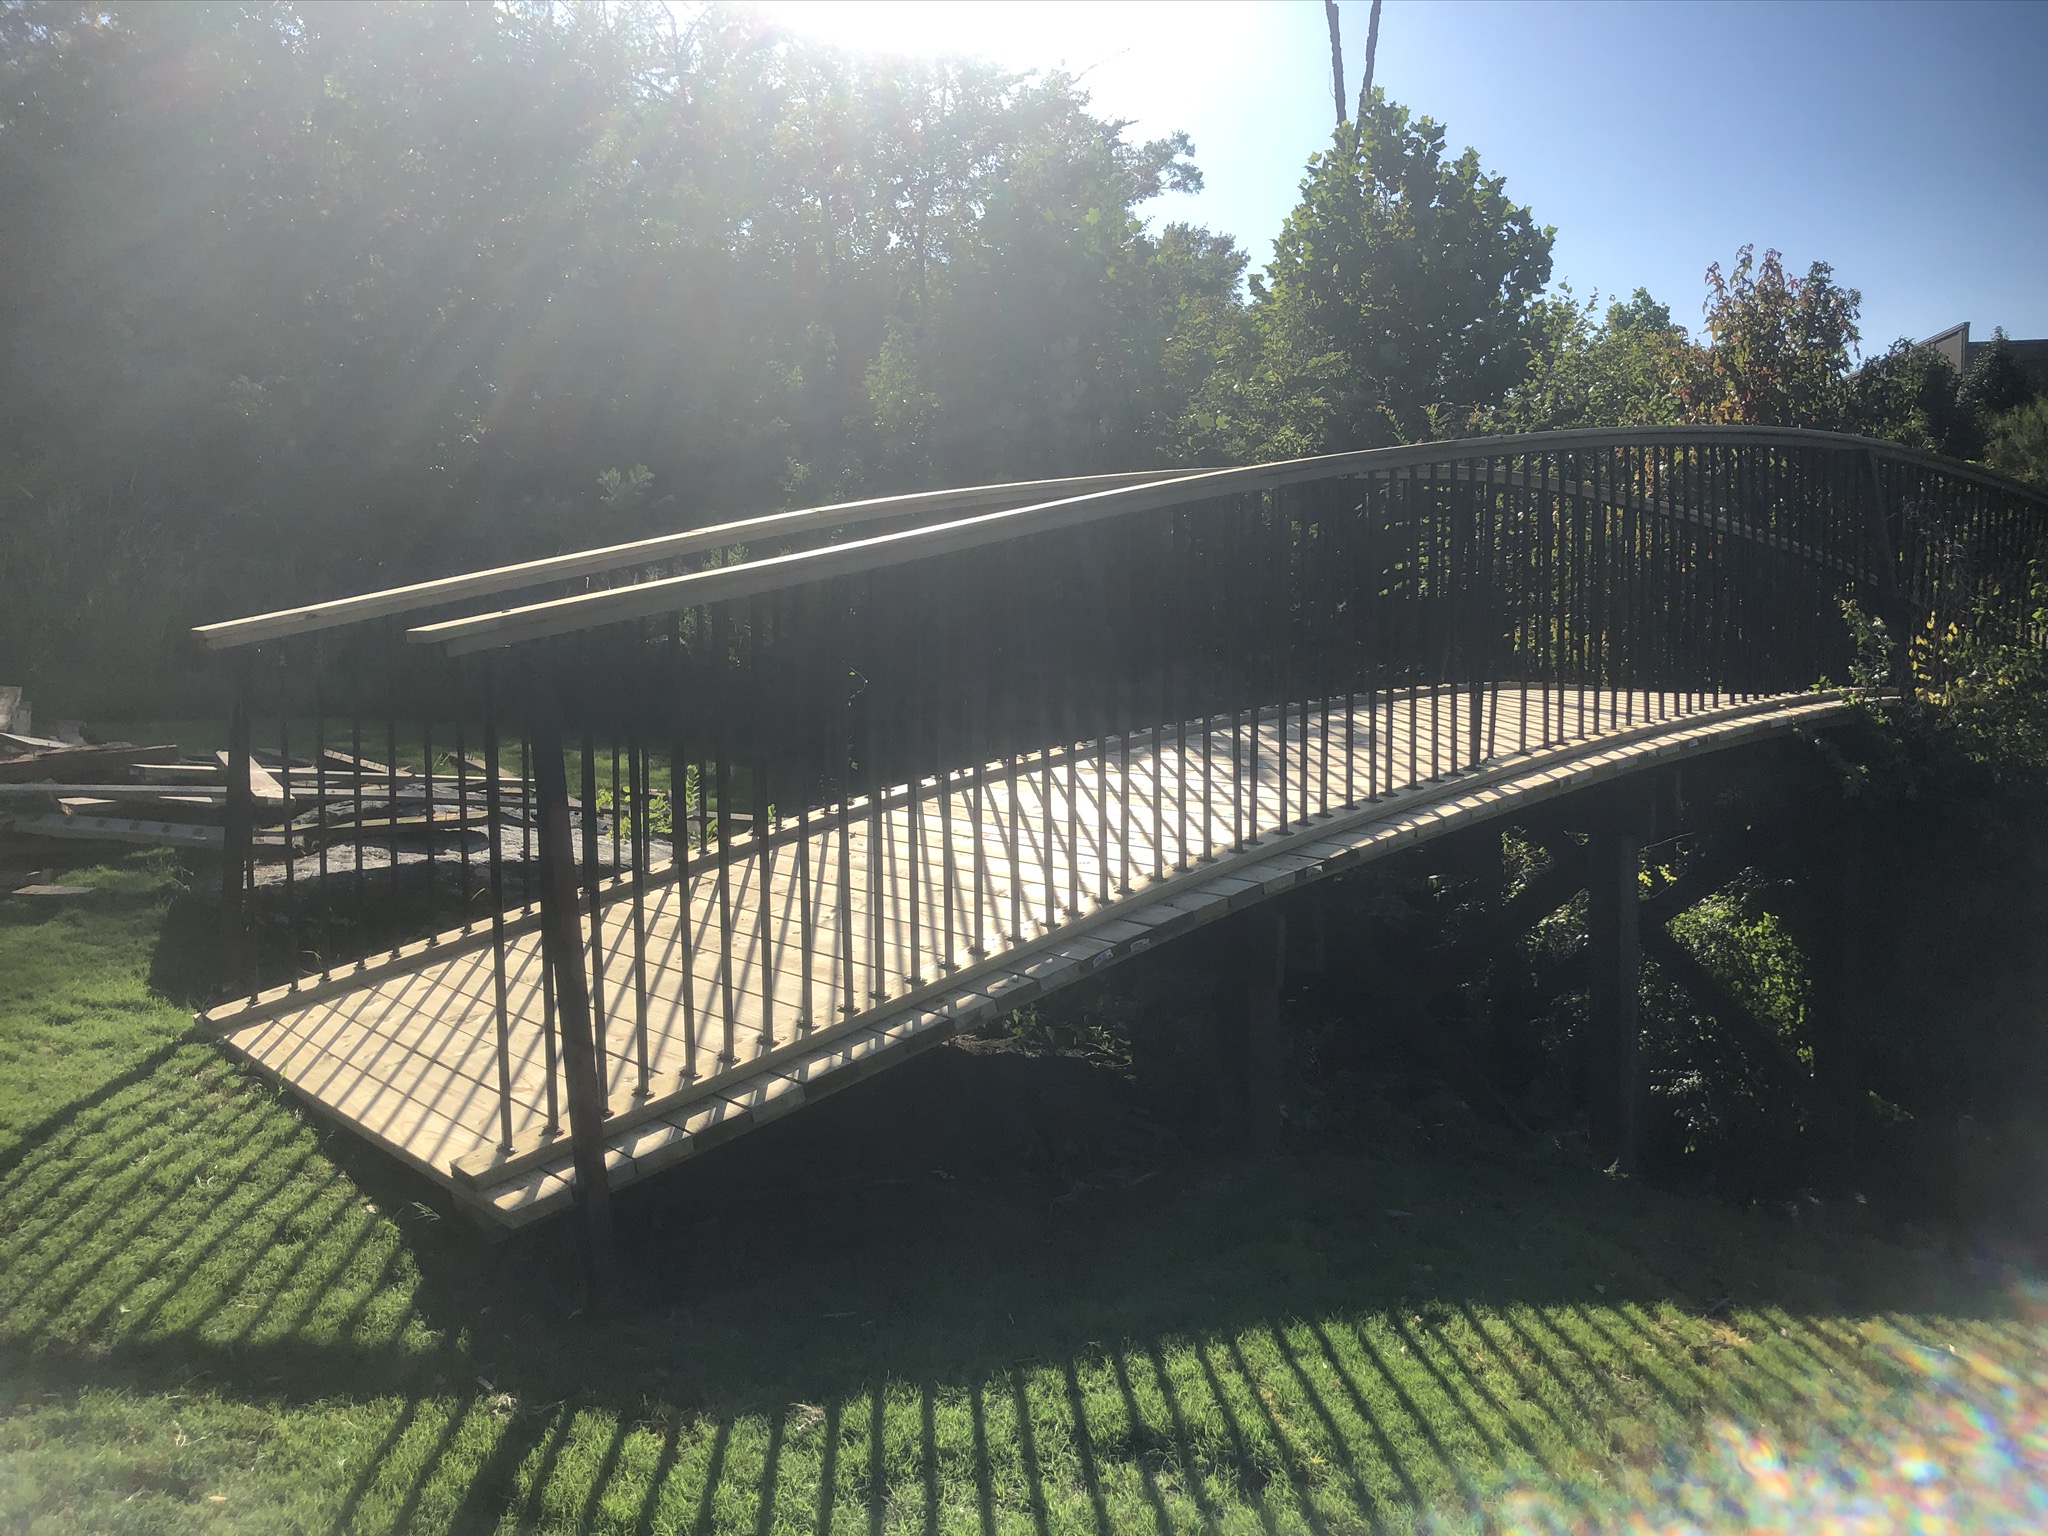
Step 4: Foundation and Support
The foundation of your bridge is pivotal to its stability and safety. Start by excavating the area for the abutments, which will support the ends of the bridge. Pour a solid concrete foundation, ensuring it’s level and well-compacted. As the abutments cure, you can assemble the support beams and stringers that will hold the weight of the bridge. Stainless steel brackets and bolts will help secure these components in place.
Step 5: Decking and Railings
The deck of the bridge is where aesthetics truly come into play. Opt for decking materials that are not only visually pleasing but also slip-resistant to ensure safety, especially when the bridge might be damp from the pond. Secure the decking planks onto the stringers, leaving small gaps for water drainage. To add an extra touch of elegance and safety, consider installing railings on either side of the bridge. These can be made from wood, metal, or even glass panels for an unobstructed view of your pond.
Step 6: Finishing Touches
Now that your bridge’s structure is complete, it’s time to add the finishing touches that will truly bring your vision to life. Applying a weather-resistant stain or sealant to the wood will protect it from the elements and enhance its natural beauty. Consider adding solar-powered lighting along the bridge or around the pond’s perimeter to create a magical ambiance during evening hours.
Building a bridge over a pond is a captivating endeavor that melds artistry, engineering, and nature. With careful planning, the right materials, and a dash of creativity, you can transform your outdoor space into a haven of tranquility and beauty.
The best option if you want to add some structural landscaping to your outdoor space is to hire a professional. Contact We Built It for all your structural landscaping needs!